A washable label is chosen from the fabric up. A T-shirt washed at 40 °C and a care-home sheet processed in an industrial laundry have nothing in common.
The essentials
→Iron-on: applied with an iron or a heat press, very good hold up to 60 °C. The default choice in institutional settings.
→Sew-on: the most resistant fixing of all - 95 °C washing and dry cleaning on the product sheet.
→Self-adhesive: fast, but durable only on a textile carrier designed for it.
→Fabric stamp and marker pen: direct marking, not removable, only as good as the ink.
→The lowest limit wins: between the label, the garment and your process, the weakest constraint decides.
→No serious product sheet guarantees a number of wash cycles: “30 washes” or “10 years” depend on a test protocol.
The Different Types of Washable Label
Four ways to fix information onto fabric. Each has a use where it is unbeatable - and another where it is the wrong call.
Iron-On Labels: the Most Durable Hold
The best compromise for domestic, semi-institutional and professional use. The iron-on clothing label is heat-fixed and survives many cycles, as long as you stay below its temperature limit.
→Iron: 170 to 190 °C for 12 to 15 seconds, no steam.
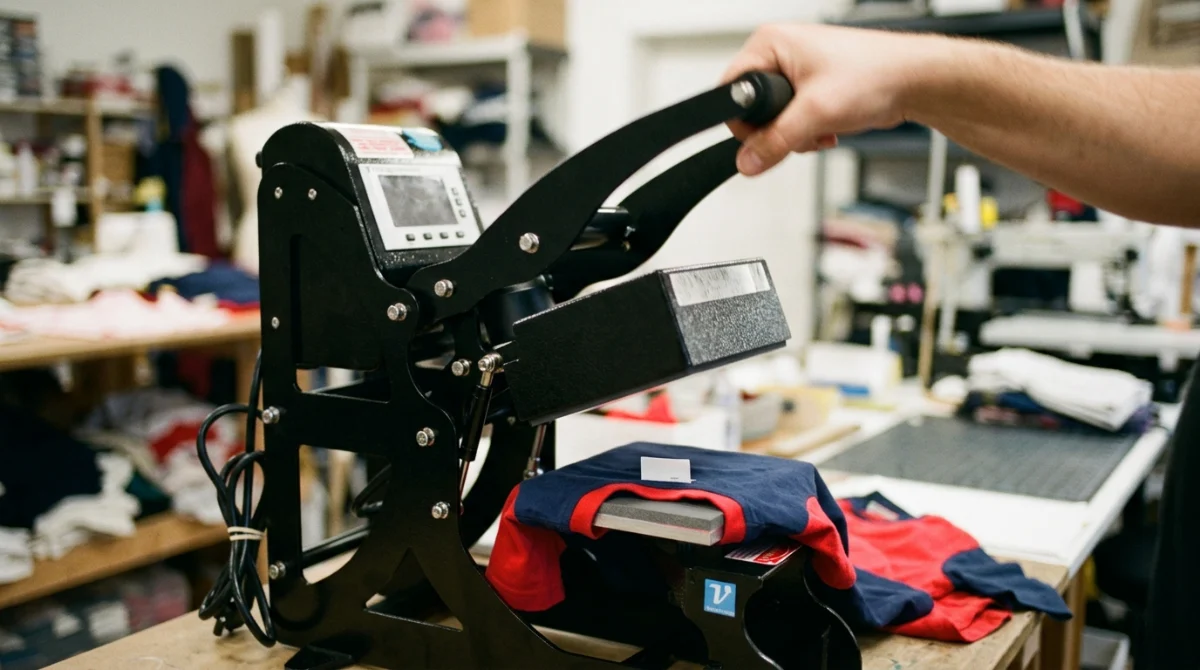
→Heat press: 200 °C for 10 to 15 seconds on the dual-fixing reference. The guide to choosing a textile heat press details power ratings and platen sizes.
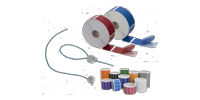
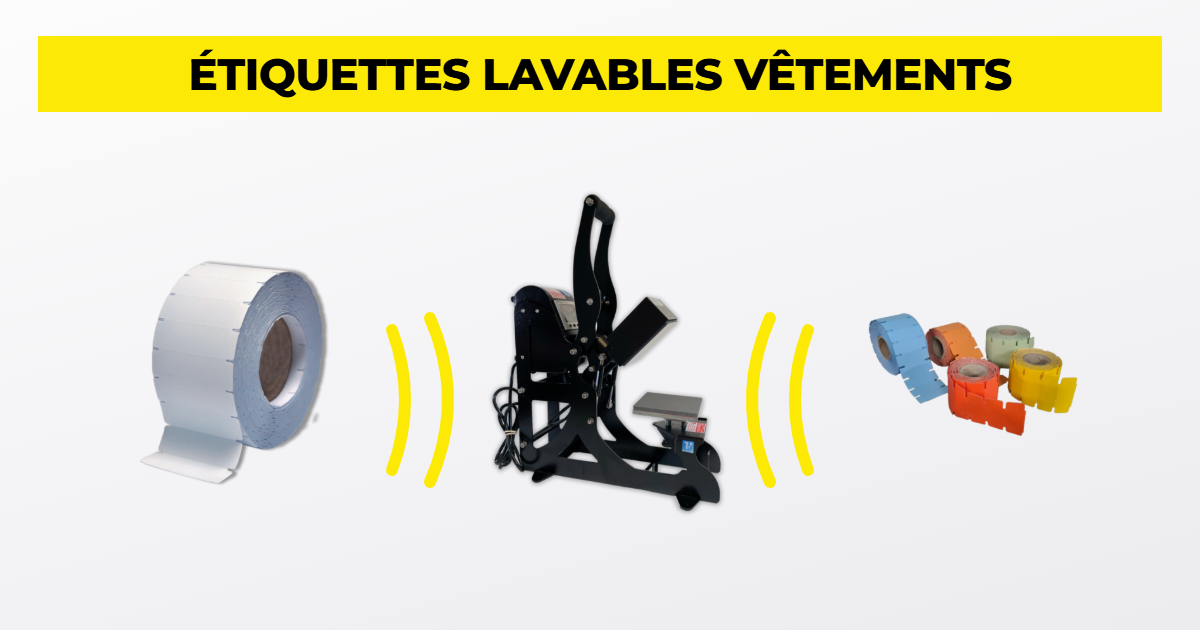
→Formats: pre-cut from 40 × 14 to 82 × 38 mm, 1,315 to 3,125 labels per 50 m roll.
Self-Adhesive Textile Labels: the Fastest Application
A self-adhesive clothing label stuck straight onto cotton will not survive a wash. The woven surface is uneven, the adhesive finds nothing to grip, and the first machine cycle takes it away. The comparison of self-adhesive or iron-on labels puts figures on the gap between the two families.
→On a textile label tape: the adhesive sits on a carrier designed for it. This is the genuinely durable self-adhesive textile label, such as the Butterfly dual-fixing reference - hand pressure or iron-on bonding, 90 °C washing and 230 °C ironing stated.
→On bare fabric: temporary. Labelling before dispatch, event badges, a one-day fix.
Sew-On Labels: for Delicate Fabrics
A useful nuance: the sew-on clothing label is not “the fragile option”, it is simply the most resistant fixing available.
→90 °C + autoclave in the comparison table of the textile labels category.
→200 m roll, not pre-cut, widths of 30, 38 and 100 mm, printable by thermal transfer or digitally.
It is the only sensible choice on wool, elastane, silk and water-repellent technical fabrics: it is these materials that force sewing, not the level of resistance required.
Fabric Stamps and Marker Pens: the Express Alternatives
The fabric stamp and the fabric marker mark directly: no label, you write on the cloth.
→Not removable. The ink stays. Reassigning the garment without a trace is impossible.
→Hold depends on the ink. Two markers at the same price give very different results after twenty washes.
→Unsuited to dark or technical fabrics. On black, nothing is legible; on water-repellent fabric, the ink slides off.
A good complement for a book cover or a swimming bag, never a primary solution for a full set of clothing.
Type of fixing
Application
Wash resistance
Max temperature
Tumble dryer
Compatible fabrics
Removable
Iron-on
Iron or press, 10 to 15 s
Very good, up to 60 °C
60 °C washing
Not stated
Cotton, polyester, ironable blends
No
Self-adhesive on textile carrier
Immediate, hand pressure
Good in moderate washing
Not stated
Not stated
Dedicated textile carrier
Yes
Sew-on
Sewing, moderate effort
Excellent: 95 °C + dry cleaning
95 °C
Not stated
All, including wool and technical
Yes, by unpicking
Stamp / marker
Immediate
Varies with the ink
Not stated
Not stated
Cotton and absorbent fabrics
No
“Not stated” is not an oversight: none of our product sheets explicitly authorises tumble drying.
The Criteria for Choosing a Label That Survives Washing
Fabric Type: Ironable, Stretch, Textured or Delicate
It all starts with a simple test: a warm iron on an inside hem.
→Ironable and smooth (cotton, polyester, blends): the iron-on adheres well. Ideal ground.
→Stretch (jersey, knit, elastane): the fabric lengthens every time it is put on, the label does not. Sewing is safer.
→Textured (fleece, towelling, chunky knit): no continuous surface, so no clean adhesion.
→Delicate (wool, silk, viscose): sewing only. Heat felts wool and marks silk irreversibly.
If the iron makes the fabric shine or melt, it is a synthetic: low heat, and forget the iron-on.
Wash Temperature and Tumble Drying: the Lowest Limit Wins
Three temperatures coexist and the lowest decides: the garment's, the label's, your process's. A sheet washed at 90 °C in an industrial laundry rules out an iron-on limited to 60 °C.
Care symbols indicate the maximum treatment allowed; going gentler is always possible. The GINETEX code, standardised by ISO 3758 (2023 edition), reads as follows:
→Tub with a number: maximum wash temperature. One bar under the tub = gentler cycle, two bars = very gentle.
→Tub with a cross: do not wash.
→Triangle: bleaching allowed. Crossed triangle: no chlorine bleach.
→Square with a circle: tumble drying allowed, the dots indicating the heat setting.
→Crossed square: machine drying prohibited.
→Iron with one, two or three dots: 120, 160 or 210 °C maximum. Crossed iron: do not iron.
→Circle: professional dry or wet cleaning.
In France, the care label is not a legal obligation, unlike fibre composition: the absence of a symbol does not mean “wash at anything”. The DGCCRF makes this point in its factsheet on clothing labelling (in French).
Wash Frequency and Expected Service Life
Why does one brand claim “30 washes” and another “10 years” on a visually identical product? Because they are not measuring the same thing.
→The test protocol: a laboratory test with reference detergent has nothing to do with your machine loaded to the brim.
→Temperature: going from 40 to 60 °C tires the adhesive faster than one extra cold cycle.
→Detergent: highly enzymatic detergents and bleach attack both adhesive and ink.
→Drying: the tumble dryer is the first enemy of an iron-on label.
→Carrier and application: smooth polyester and brushed fleece do not behave alike, and too short a press is paid for before the first wash.
Comfort and Skin Contact
A label that itches ends up torn off. On a child, that is the leading cause of loss, well ahead of washing.
→Round off the corners: square corners lift first.
→Sew into a seam allowance, never through visible fabric, and avoid the line of the spine as well as the trouser waistband.
→On underwear, use a soft nylon tape with no knot on the skin side.
Permanent or Removable: Siblings, Resale, Borrowed Garments
The question arises when the garment has to change hands.
→Permanent (iron-on, sewn): care homes, industrial laundries, named workwear.
→Removable (self-adhesive on carrier, slip-in label): events, loans, one season.
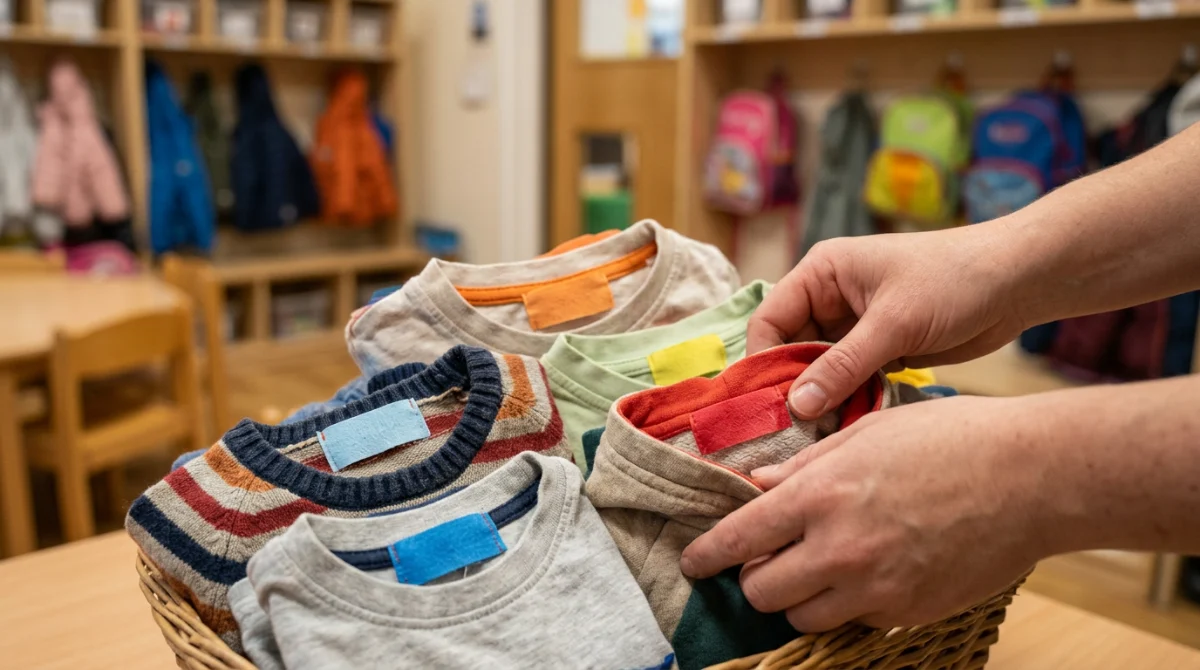
→Siblings: the first name alone is a trap. Prefer “Lea B.” or a colour code - the Butterfly colour range offers eight colours, from pastel green to fuchsia, for immediate visual sorting in a basket.
→Resale: an iron-on label comes off with reheating; sewing leaves small needle holes, usually invisible after one wash.
Legibility and What to Write
What to write. First name + surname initial, class or department, and an internal code in professional use.
What not to write. No health data, no medical condition, no social security number on a label read by an entire changing room. For linen marking in an institution, the internal code is enough: the mapping stays in the file.
How to print it. Thermal transfer with a suitable resin ink ribbon, never inkjet: water-based ink disappears on the first cycle. Bold characters, no thin typefaces.
Which Label for Which Garment?
Garment
Main constraint
Recommended label
Watch out for
T-shirt with a care label
Existing band is scratchy, doubling it irritates
Fine iron-on or sew-on onto the band
Weak adhesion on a woven polyester label
Garment with no label
Composition and care unknown
Sew into a seam, or a tested iron-on
Test the iron on a hidden area
Socks
Stretch knit, permanent elongation
Sew onto the cuff, or a small iron-on format
Self-adhesive does not hold; marker wears off at the heel
Sew-on for bedding; iron-on on the hem for a comfort toy
Self-adhesive does not survive the first industrial wash
Which Label for Which Setting?
Nursery and School
Ten to fifteen items per child, one wash a week, often at 60 °C with tumble drying. A self-adhesive stuck on in a hurry will not see out the term.
The 40 × 14 mm pre-cut iron-on is the most versatile format: wide enough for a legible first name, small enough not to irritate. Allow two labels per item - collar and hem - because it is always the one you did not check that lets go.
For nursery clothing labels, the first name is enough; in primary school, add the class. On the comfort toy, sew: it is the item that goes through the machine most often, and the one that cannot be replaced.
Summer Camp and School Trips
The risk is not the washing, it is the mixing. Everything leaves in the same bag, comes back in the same basket, and the poorly marked garment is lost.
→Durable marking: iron-on or sewn, no marker pen on dark fabrics.
→First name + initial, never the first name alone in a group of thirty children.
→An inventory in the suitcase, with the number of items per category: that is what lets you make a claim.
Care Homes: Surviving Industrial Washing
Two different needs hide behind the care-home clothing label.
Identifying the resident's linen. Name, sometimes room number, on personal clothing and bed linen. If the laundry runs above 60 °C or uses an autoclave, sewing is the baseline: it is the only fixing documented at 90 °C + autoclave and 95 °C washing.
The iron-on remains relevant for items that never go through that regime - a cardigan, a scarf, a garment washed by the family.
Internal traceability. Codes, batches, RFID chips, barcodes: a different discipline and different carriers, and choosing an RFID tag answers to read-frequency and durability criteria that have nothing to do with those of name marking.
The tipping point is simple: ask for the real temperature of your process, not the setting displayed on the machine.
Applying Labels So They Hold
Applying an Iron-On Label, Step by Step
→Wash and dry the garment, with no fabric softener: it leaves a film that blocks the adhesive.
→Work flat on a hard surface. A soft table absorbs the pressure.
→Place the label adhesive side against the fabric, on a flat area, never on a seam.
→Heat without steam: iron at 170-190 °C for 12 to 15 s, or a textile heat press at 200 °C for 10 to 15 s.
→Press across the whole surface, edges included.
→Let it cool flat for 24 hours before the first wash. This is the step everyone skips.
A gentle pull test once cool tells you everything: if the label lifts, the application needs doing again.
Applying a Self-Adhesive or Sew-On Label
Self-adhesive. It goes onto a textile carrier, not onto the bare garment. Firm hand pressure, thirty seconds across the whole surface. If the carrier is iron-on, a pass with the iron remains the strongest fixing.
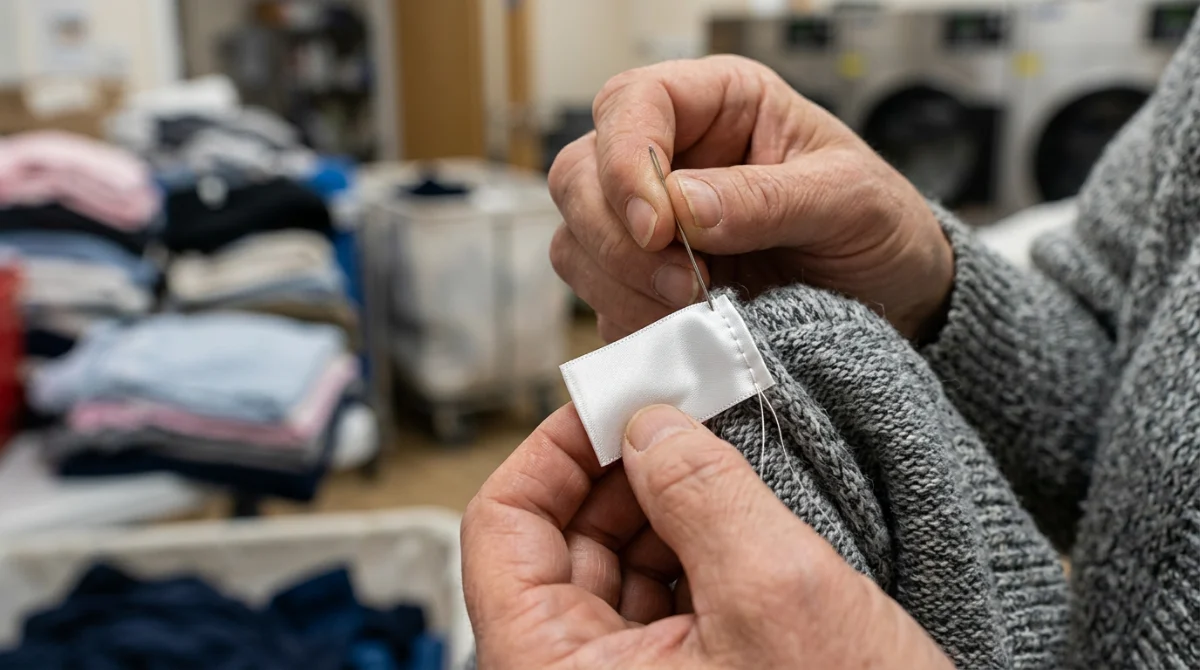
Sew-on. Cut the format from the roll, fold the edges, stitch all four sides or two if the label is hidden. Polyester thread, short stitches, no knot on the skin side.
Where to Place the Label on the Garment
→On the inside seam, next to the care label: the standard placement.
→In a hem, for heavily washed items.
→On the side seam, for swimwear and stretch fabrics.
→Under the foot, for socks.
→Never on a visible face, except for deliberate event use.
The Mistakes That Make a Label Come Off
Most lost labels are not a product problem. They are an application problem.
→Steam. It stops the adhesive melting and creates a film of moisture under the label. Dry iron, always.
→Applying over a seam or a textured area. The adhesive has no continuous surface to grip.
→Too short a press. Five seconds does not activate the adhesive, even with a very hot iron.
→Washing before 24 hours. The adhesive has not finished crystallising.
→Self-adhesive stuck straight onto fabric. It lasts a day, not a machine cycle.
→Exceeding the garment temperature. An iron-on limited to 60 °C washed at 90 °C does not come off: it delaminates.
How Many Labels to Allow For
These figures are orders of magnitude, to be adjusted to your organisation. They are not standards.
→Nursery: 10 to 15 items, two labels per item. 30 to 40 labels for one set, 60 to last the season.
→Back to school: 15 to 25 items including sports and swimming kit. 50 labels cover the year in most cases.
→Camp or school trip: 20 to 25 items for two weeks. 50 labels, around ten of them for accessories.
→Care home: 60 to 80 items per resident between bed linen and clothing. 100 to 150 labels for a complete set, replacements included.
A simple rule: add 20 % to your estimate. The forgotten items always turn up after the order.
Unsure about the fabric or the temperature?
Tell us the garment, its wash temperature and the volume to mark: we will settle the fixing, the format and the ribbon.
None of our suppliers' sheets publishes a number of cycles: the result depends on temperature, detergent, drying and the carrier fabric. What is documented are the product limits. In standard use, a classic iron-on holds up to 60 °C washing; the dual-fixing reference states 90 °C washing and 230 °C ironing. What really shortens a label's life: repeated 60 °C cycles, highly enzymatic detergent and the tumble dryer.
Can a self-adhesive label be stuck straight onto fabric?▾
For a few hours, yes. For a garment going into the machine, no: the adhesive has no lasting grip on a knit. The correct solution is to stick the label onto a textile tape designed for it, then fix that tape to the garment. On bare fabric, keep self-adhesive for temporary identification - crisis management, events, labelling before dispatch.
Can washable labels go in the tumble dryer?▾
Our product sheets do not explicitly allow it, and that is deliberate: the answer depends on the garment as much as the label. Apply the lowest-limit rule. If the square on the care label is crossed out, no drum at all - an added label changes nothing. As a precaution, air drying noticeably extends the life of an iron-on label.
How do you remove an iron-on label without damaging the garment?▾
You do the opposite of the application: you reheat. Dry iron or press on the label, then peel slowly and flat, without tearing. Residue comes off with alcohol or a mild stain remover, tested on a hidden area. On a synthetic, the heat can leave a permanent shiny mark; on a delicate fabric, it is better to leave the label in place than to risk a hole.
Which label for wool or synthetic garments?▾
Sewing in both cases. Wool felts under heat and pressure: no iron-on holds without damaging the fibre. Technical synthetics - padded jackets, water-repellent fabric, elastane knit - repel the adhesive and do not tolerate the iron. A nylon tape sewn into an inside seam is the only application that degrades nothing.
Which labels should a care home choose?▾
Start from the wash process, not the catalogue. Above 60 °C or with an autoclave, sewing is the baseline for resident linen; the iron-on suits items that never go through that regime. For internal traceability - codes, batches, department - carriers printed by thermal transfer with a resin ribbon are the usual solution. Check the real temperature of your cycles before ordering: it is the only figure that decides.
With over 5 years of experience in creating content optimized for search engines, Mélissa is currently Marketing & Product Manager at SBE Direct, where she leads the product catalogue positioning across the e-commerce website and marketplaces, as well as the SEO content strategy in coordination with the marketing team she oversees.